Use this following procedure to modify SOLIDWORKS installation to add serial numbers and products. This procedure is needed when there is a change in the license (for example SOLIDWORKS Standard license is upgraded to Professional/Premium license) or new licenses for add-in products (for example Composer, Visualize, Simulation, Plastics etc.) have been bought but SOLIDWORKS has already been installed in the workstation before buying those licenses.
Following procedure is valid only for users having a SOLIDWORKS Standalone license. If you have a floating SOLIDWORKS network license (SNL) in use and there have been changes in the license (for example new licenses have been bought), new licenses will become available after reactivating SOLIDWORKS license server.
1. Launch Windows' "Control Panel" and select the link "Programs and Features".
2. Right-click on the SOLIDWORKS installation in the list and select the option "Change".
TIP: You can filter the list of programs by typing "solidworks" in the search field.
3. SOLIDWORKS Installation Manager starts. Select the option "Modify your installation" and press "Next".
4. In the "Serial Numbers" page there is already a SOLIDWORKS serial number typed for product "3D Design - SOLIDWORKS". Do not remove or modify this number.
Under the product "3D Design - SOLIDWORKS" there are separate fields for multiple different SOLIDWORKS products. Type or copy-paste the number for the product you want to add.
Then press "Next".
5. SOLIDWORKS Installation Manager is connecting to SOLIDWORKS server to validate the typed serial numbers and which products the typed serial numbers entitle you to use.
Installation Manager should automatically select the products based on the typed serial numbers. But in some situations (for example when upgrading SOLIDWORKS from one license to another) it is needed to select the checkboxes of the products you want to install manually. Please also check that you have the correct SOLIDWORKS package (Standard, Professional or Premium) selected.
So make sure that you have selected all the products that you want to install. When the product is selected, it means that it will be installed.
When you have selected the products, press "Next".
6. In the "Summary" page under "Products to Add" you can see which products will be added to this installation. Select "Modify Now" to start modifying the installation.
7. Wait until the installation has been modified and you will get a message that "Installation is Complete".
Press "Finish" to finish the installation.
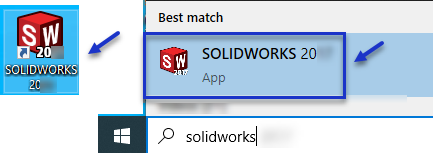
8. Launch SOLIDWORKS by double-clicking SOLIDWORKS desktop icon or selecting it from Windows menu.
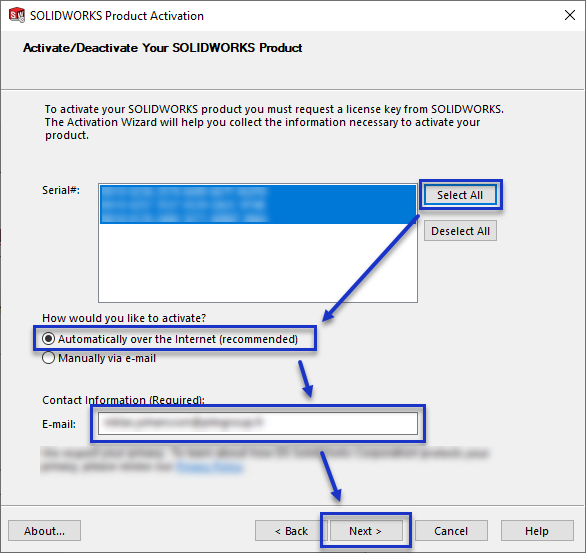
9. Reactivate the license by pressing the "question mark" symbol in upper right corner and selecting "License" sub menu and the option "Activate".
Press "Select All" to select all licenses. Select the option "Automatically over the internet...". Type your email address and finally press "Next".
10. Now all new products have become available in your SOLIDWORKS installation and they are ready to be used.
Comments
Please sign in to leave a comment.